Showing posts with label stranded knitting. Show all posts

Monday, June 27, 2016

Skirt Darts & Knitting Charts

I know I sound like a broken record, but...hot. Hot. Hot.  I have been staying inside except for my daily trips to the gym.  Working from home has its perks, and not having to be out in the heat is definitely one of them.  In my free time, I've started a few projects.

I'm taking a class to learn how to sew vintage skirts!  Thanks, Jamaica Thrift Store, for the super cheap patterns.


The class skirt is not a vintage style, but a straight knee-length skirt, very basic.  Well, I'm beginning at the beginning, so it's good practice. 


Look!  My skirt has darts!  And I'm installing a zipper by the weekend.


I've been working on my quilting skills, too.  I sewed this placemat together with hand-cut pieces.  I'm still frustrated by my inability to properly pair patterns/colors, but I suppose practice will improve that.


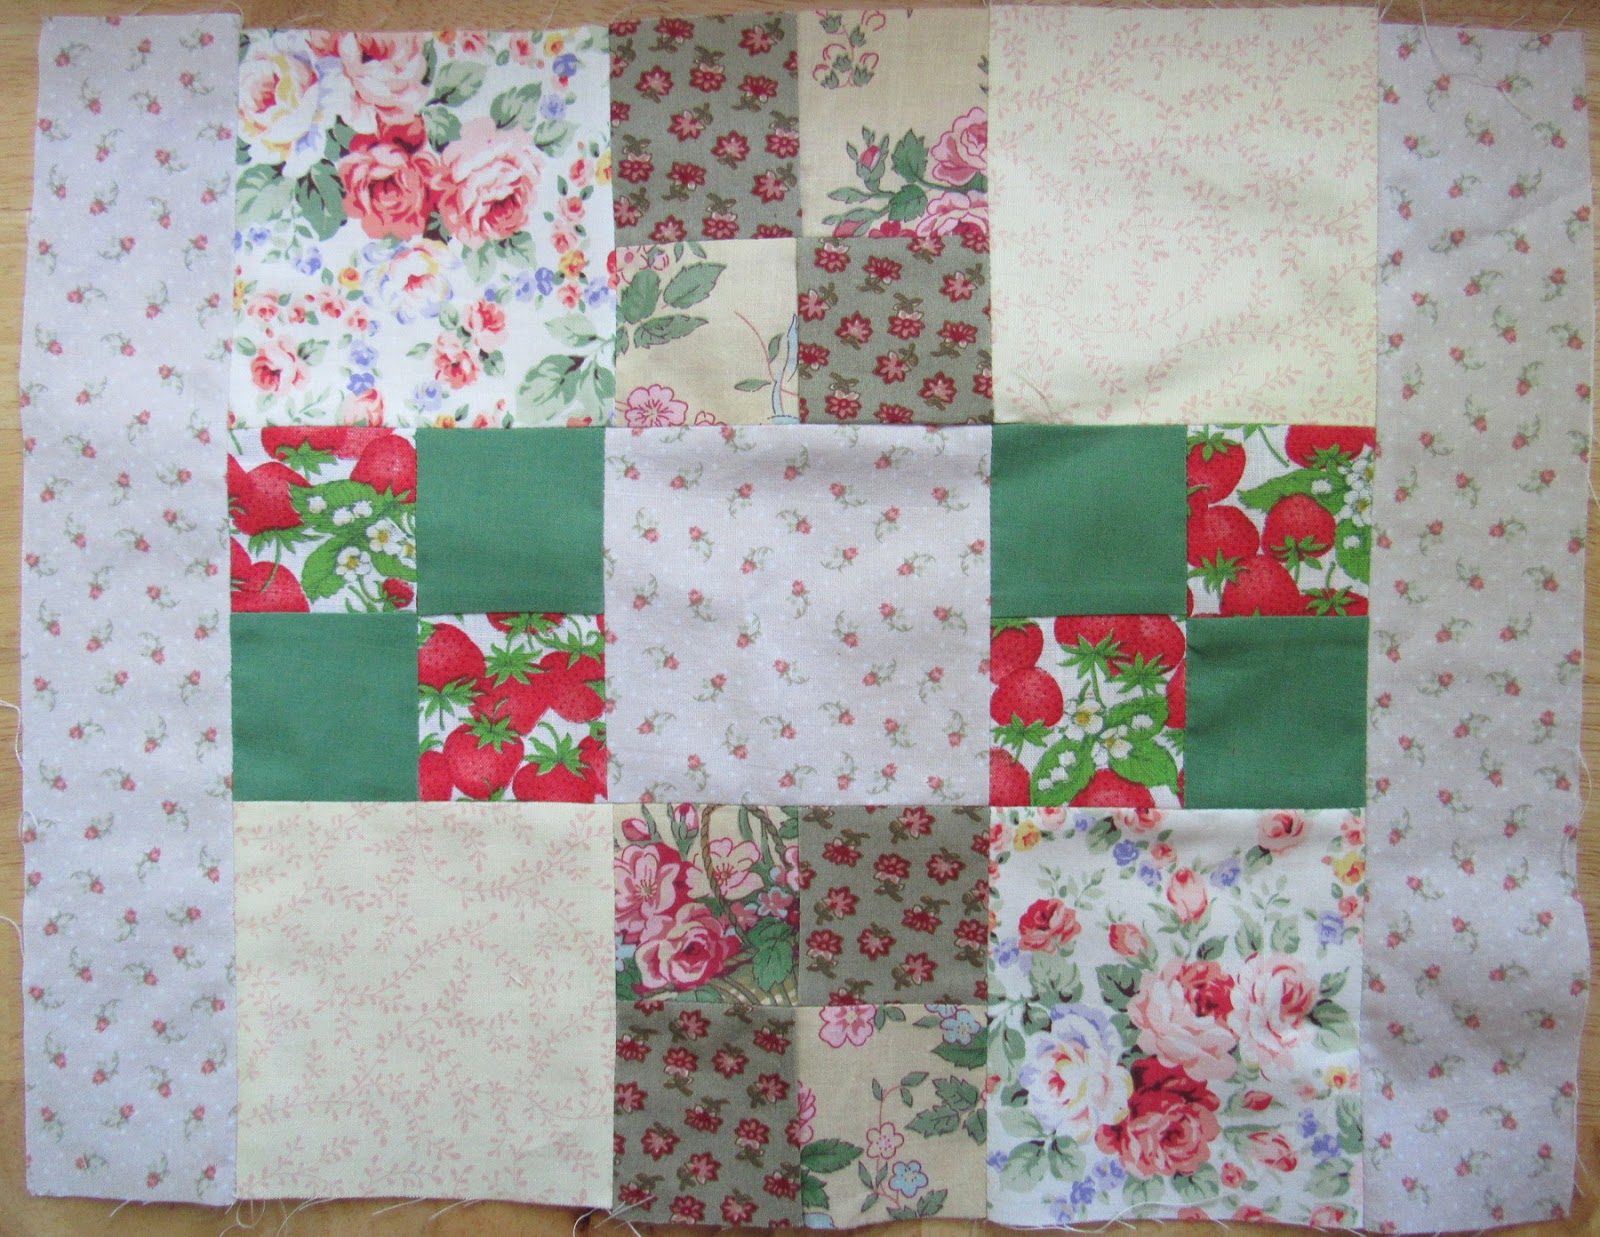
The most important thing is that my sewing is becoming more precise.  Look at my tidy squares! 


I knitted this (secret) project for a friend, playing with stranded knitting and various color combinations...


...and I'm knitting a pair of mittens for myself in the traditional 'feather and fan' style.


The issue is that I have tiny wrists and have to knit with size 0 needles (aka toothpick width).  They're killing my hands and I think I'll only be able to work on this sporadically.

I'm a puzzle fanatic and probably finish a 1000 piece puzzle every week.


It doesn't take long at all once I sort the pieces into helpful groups.  On the weekend I'll occasionally sit down for an hour and work, but mostly I sit for 20 minutes in the late afternoons and "puzz," as I say.  It's so relaxing after a day spent online. 

I've been trying to take advantage of the in-season produce, too.  I cooked down blueberries and blackberries last week and, when the mixture was chilled, mixed into coconut milk and froze in the ice cream maker for an absolutely delicious "ice cream."  Recipe here


I've mainly been making huge salads for supper every day, which Todd loves.  I am excited about branching out into ingredients that I'm not used to using on a daily basis.  Here are links to some much-loved summer meals around here:

Blackened fish tacos with avocado-cilanto sauce
Quinoa salad with mint, almonds, and cranberries
Shrimp and couscous packets with mango-avocado salsa
Chopped salad with feta, lime, mint, and sunflower seeds
Orzo salad with chickpeas, cucumbers, lemon, dill, and feta
Spring vegetable stir fry with lemon ginger sauce
Greek tortellini salad

I thought I'd be buying a lot of specialty ingredients and only using them once, but it's mainly a steady rotation of fresh herbs and veggies that are used from meal to meal.  While I sometimes grill chicken to chop up and toss in any given salad for some extra protein, it's mainly vegetables, so it's a lot less expensive than the meat-heavy winter stews I make.  Win-win!

That's all the activity around here this week...taking my nature inspiration from indoor things, like fresh eggs from the farmers market...


...and adorable kittens...

(the original Grumpy Cat?)

...or things glimpsed through a window, like this female hummingbird.


Hopefully we'll get some rain - or at least slightly cooler temperatures - soon.  Have a great week! 

Friday, July 17, 2015

Foxglove Love

First, let me get this out of the way.  BEAVER BABIES!


All right, now that I've got that out of my system, I can move on to the main event:  I finished my cardigan.

The pattern is FOXGLOVE by Kate Davies.  It's knitted in the round, bottom up, until you get to the armpit.  Then you put those stitches on hold while you knit up the arms and attach.  Finally, you knit some connecting rows and begin the chart for the foxgloves. Then the neck, and finally, the steek.  Steeking, remember, is where you reinforce stitches on either side of a center stitch so that you can cut through the fabric without any ends unraveling.  That's the theory, anyway!

Here's the cardigan pre-steek:


There are many ways to steek a sweater, but I chose a crochet steek.  Basically, I found the center stitch (not easy in that sea of maroon), and crocheted up one side and down the other, securing the right stitch leg and then the left stitch leg of the center stitch with the leg of the neighboring stitch on either side.  It's not pretty, but it doesn't have to be - it will never be seen. 


Basically the steek pulls the stitch apart and reveals the ladder center.  This is where you cut.


My steek held, except for two places that started to unravel.  I quickly reinforced them with matching thread and they held nicely.  How exactly does it work?  I'm not sure.  It seems impossible that one crochet stitch would hold in all of those tiny unraveling threads.  It does, though!


 After the frightening experience of the steek, you move on to the relatively easy creation of the button band.  You pick up and knit X number of stitches along the front edge (well in from the steek) and do a simple ribbed stitch for 12 rows.  Repeat on the other side.


The steek edge naturally folds under and is hidden.


Then all you have to do is sew on buttons, weave in ends, and block.  I was a nervous wreck about the fit.  The 2 sweaters I knitted earlier this year are both poor-fitting.  One has wonky shoulders and a fiddly, unraveling v-neck, and the other is just too small.

This sweater, though, fits pretty well!


Here's some detail of the yoke:


I'd prefer it to be slightly more fitted, but I guess it will be perfect to layer with this winter.  I think it will be a long time before I knit another sweater out of such fine yarn, but I'm looking forward to making another one soon, but with thicker yarn.  I have been drooling over Stonecutter, and it's knitted, thankfully, with pleasingly thick worsted weight.

After having lost a total of 5 trees and many branches and limbs, the work here is about finished.  Our tree guys have been amazing and regularly put in 12 - 14 hour days.  I made them some cookies to thank them for their hard work.  Since we're out of all chips and I only had peanut butter in the house, I decided to make Averie Cooks' Big Soft and Chewy Peanut Butter Crinkle Cookies.  They're huge - only 6 per cookie sheet!  They bake up crisp on the edges and soft in the middle.  Nice peanut butter taste.  Beautifully crinkled tops.  I worried that the centers would be too raw, so baked each batch for 12 minutes.  Next time I would go down to 11 minutes.  I prefer the less crisp version.


Have a great week!

Monday, May 6, 2013

Made in the Shade

For a long time - years - I didn't want any green in my flower gardens.  Oh, sure, I'd put up with the little fringe of leaves that was an obligatory partner to each bloom, but I was focused on the color.  Sometimes I'd remark on a leaf - the fantastic lily pads of the nasturtium, the smooth clovers of the columbine, the ferny stalks of achillea - but they were secondary to the flower. 

Then I moved to a house that was in almost complete shade.  For the first time, I had to consider the leaves.  Could a garden of mere leaves be beautiful?  Well, I can now say with increasing confidence - yes.

We have morning sun that hits the front of the house, and I'm really pleased with the variety of plantings there.  While some azaleas are hanging on, the interest here is mostly on the leaves:  the peony-like leaves of the helleborus, the tropical japonica, and the ferns.


On the other side of the porch, we have more of the same, and I love the wild riot of different shapes and varieties. 


However, just beyond this pleasant jumble, we have tidy orderly lines of ornamental grasses.


One after the other, like little soldiers.  I'm eating supper, look outside, and see...little marching rows.  Tidy.  Boring.


This is a huge bed, and it's almost completely in shade.  I wasn't sure what to do, but I've been really inspired by the South Carolina Botanical Gardens, where my Master Gardener class meets. 

Beautiful ferns.


Native woodland plants.


Paths lined with hostas and other shade plants.


Areas under trees, in full shade, with a variety of shapes...


Sizes...


...and shades of green.


Sun-dappled beds, just like mine, but full of columbines...


Solomon's Seal...


And other beauties.


I've already spent quite a bit of money on plants this spring, so I may have to piece together this look over time.  But I'm really inspired and can't wait to rip up those tidy rows!

I also have a little work to do in our fenced-in side garden...also in shade.  It was bare dirt all winter, and I didn't know if anything was planted there.  But one spring day, I saw this:


Soon, hostas were slowly coming up all over:


I think they're all up now...


But I want some variety in there...and I want some winter interest.   This will keep me busy for a while!

We've had a week of cold, rainy temperatures, and I finally finished a knitting project I started months ago.  It's a pair of stranded gloves, but I made several modifications to the original plans.  When I started them in January 2012, I quickly put them aside, because I hated using thick worsted wool on tiny size 1 needles.  I wasn't sure about the cuff, either.


Here is the original pattern:


Here is my finished version:


First, I decided to leave off the cuff design.  Instead of knitting the designs and doing a thick braid between them, I knitted a length of cuff, added the picot edge in a contrasting color, knitted an identical length of cuff, folded it over, and did a 3-needle bind off.  This makes a double-layered and I think a tidier cuff.  I knitted another contrasting line, and then started the pattern.

The palm is alternative straight lines. 


As usual, when I finished knitting, the colors bunched up and looked puckered.


I knitted them very tightly, because I have small hands and many of the stranded gloves of this size, even when knitted on size 1 needles, are much too big.  This puckering is easily "blocked out" by wetting them, squeezing out the excess water, and then tugging them into shape. 

I am very pleased by them!

One final note:  I was deadheading some potted flowers on the front porch when I thought I saw a bird fly out.  The purple annuals in the medium-sized brown pot:


I poked around in the pot but didn't see anything that looked like a nest - just a a jumble of debris that may or may not have been in the pot after sitting on our porch for a few weeks.  I checked it again a few hours later, and this time I definitely saw a bird fly out.  I looked closer and saw a nest, way back in the debris, with 5 little eggs inside.


After doing some research, I learned that it was a Carolina Wren nest.  I was in a bit of a panic...not only did I clumsily poke around the nest area, leaving my scent everywhere, but before I'd seen the bird I'd moved the flowers onto the middle step, and then we had drenching rain for a week.  Would the mother still stay with her eggs?  I hated to bother her, but I had to check.  Today I peeked into the plant and hooray!  She was sitting on her eggs.  I can't wait to hear the little hatchlings!

Have a great week!