Showing posts with label tulips. Show all posts

Monday, November 2, 2020

my best friend's ghoul-friend

 Woo hoo!  Another Halloween is successfully in the books!  Halloween socks were donned.  Halloween decorations were hung.  Halloween cards were mailed.  Thirty-one scary movies were watched.  

And then there was the baking.

One mini pie pan + store-bought cherry pie filling + leftover pie dough (thanks, half birthday!) = perfect mini ghoul pies.

Once baked, the red cherry filling added a delightful affect.

Leftover filling was stirred into oatmeal to make a "Hearts of Newts" breakfast.


I used a zombie cookie cutter and my handy mini pancake maker to make a zombie pancake chasing after 'brains.'


I made 'brain' cupcakes, too!


The cupcakes and the ghoul hand pies were made last week, for our Small Group meeting, but I had some leftover frosting...so on Halloween, I utilized my "perfect vanilla cupcakes for two!" recipe to make two tasty Halloween-themed cupcakes.


After a multi-week frenzy of scares (and sugar), I'm ready to look forward to a more peaceful November. The weather has been cool, and I've still been seeing bees napping on the few remaining flowers.


There's even the odd weevil still kicking around in my front porch plants.


I've continued to spot a turkey or two from my office window - just a glimpse as they head across the field and into the trees.


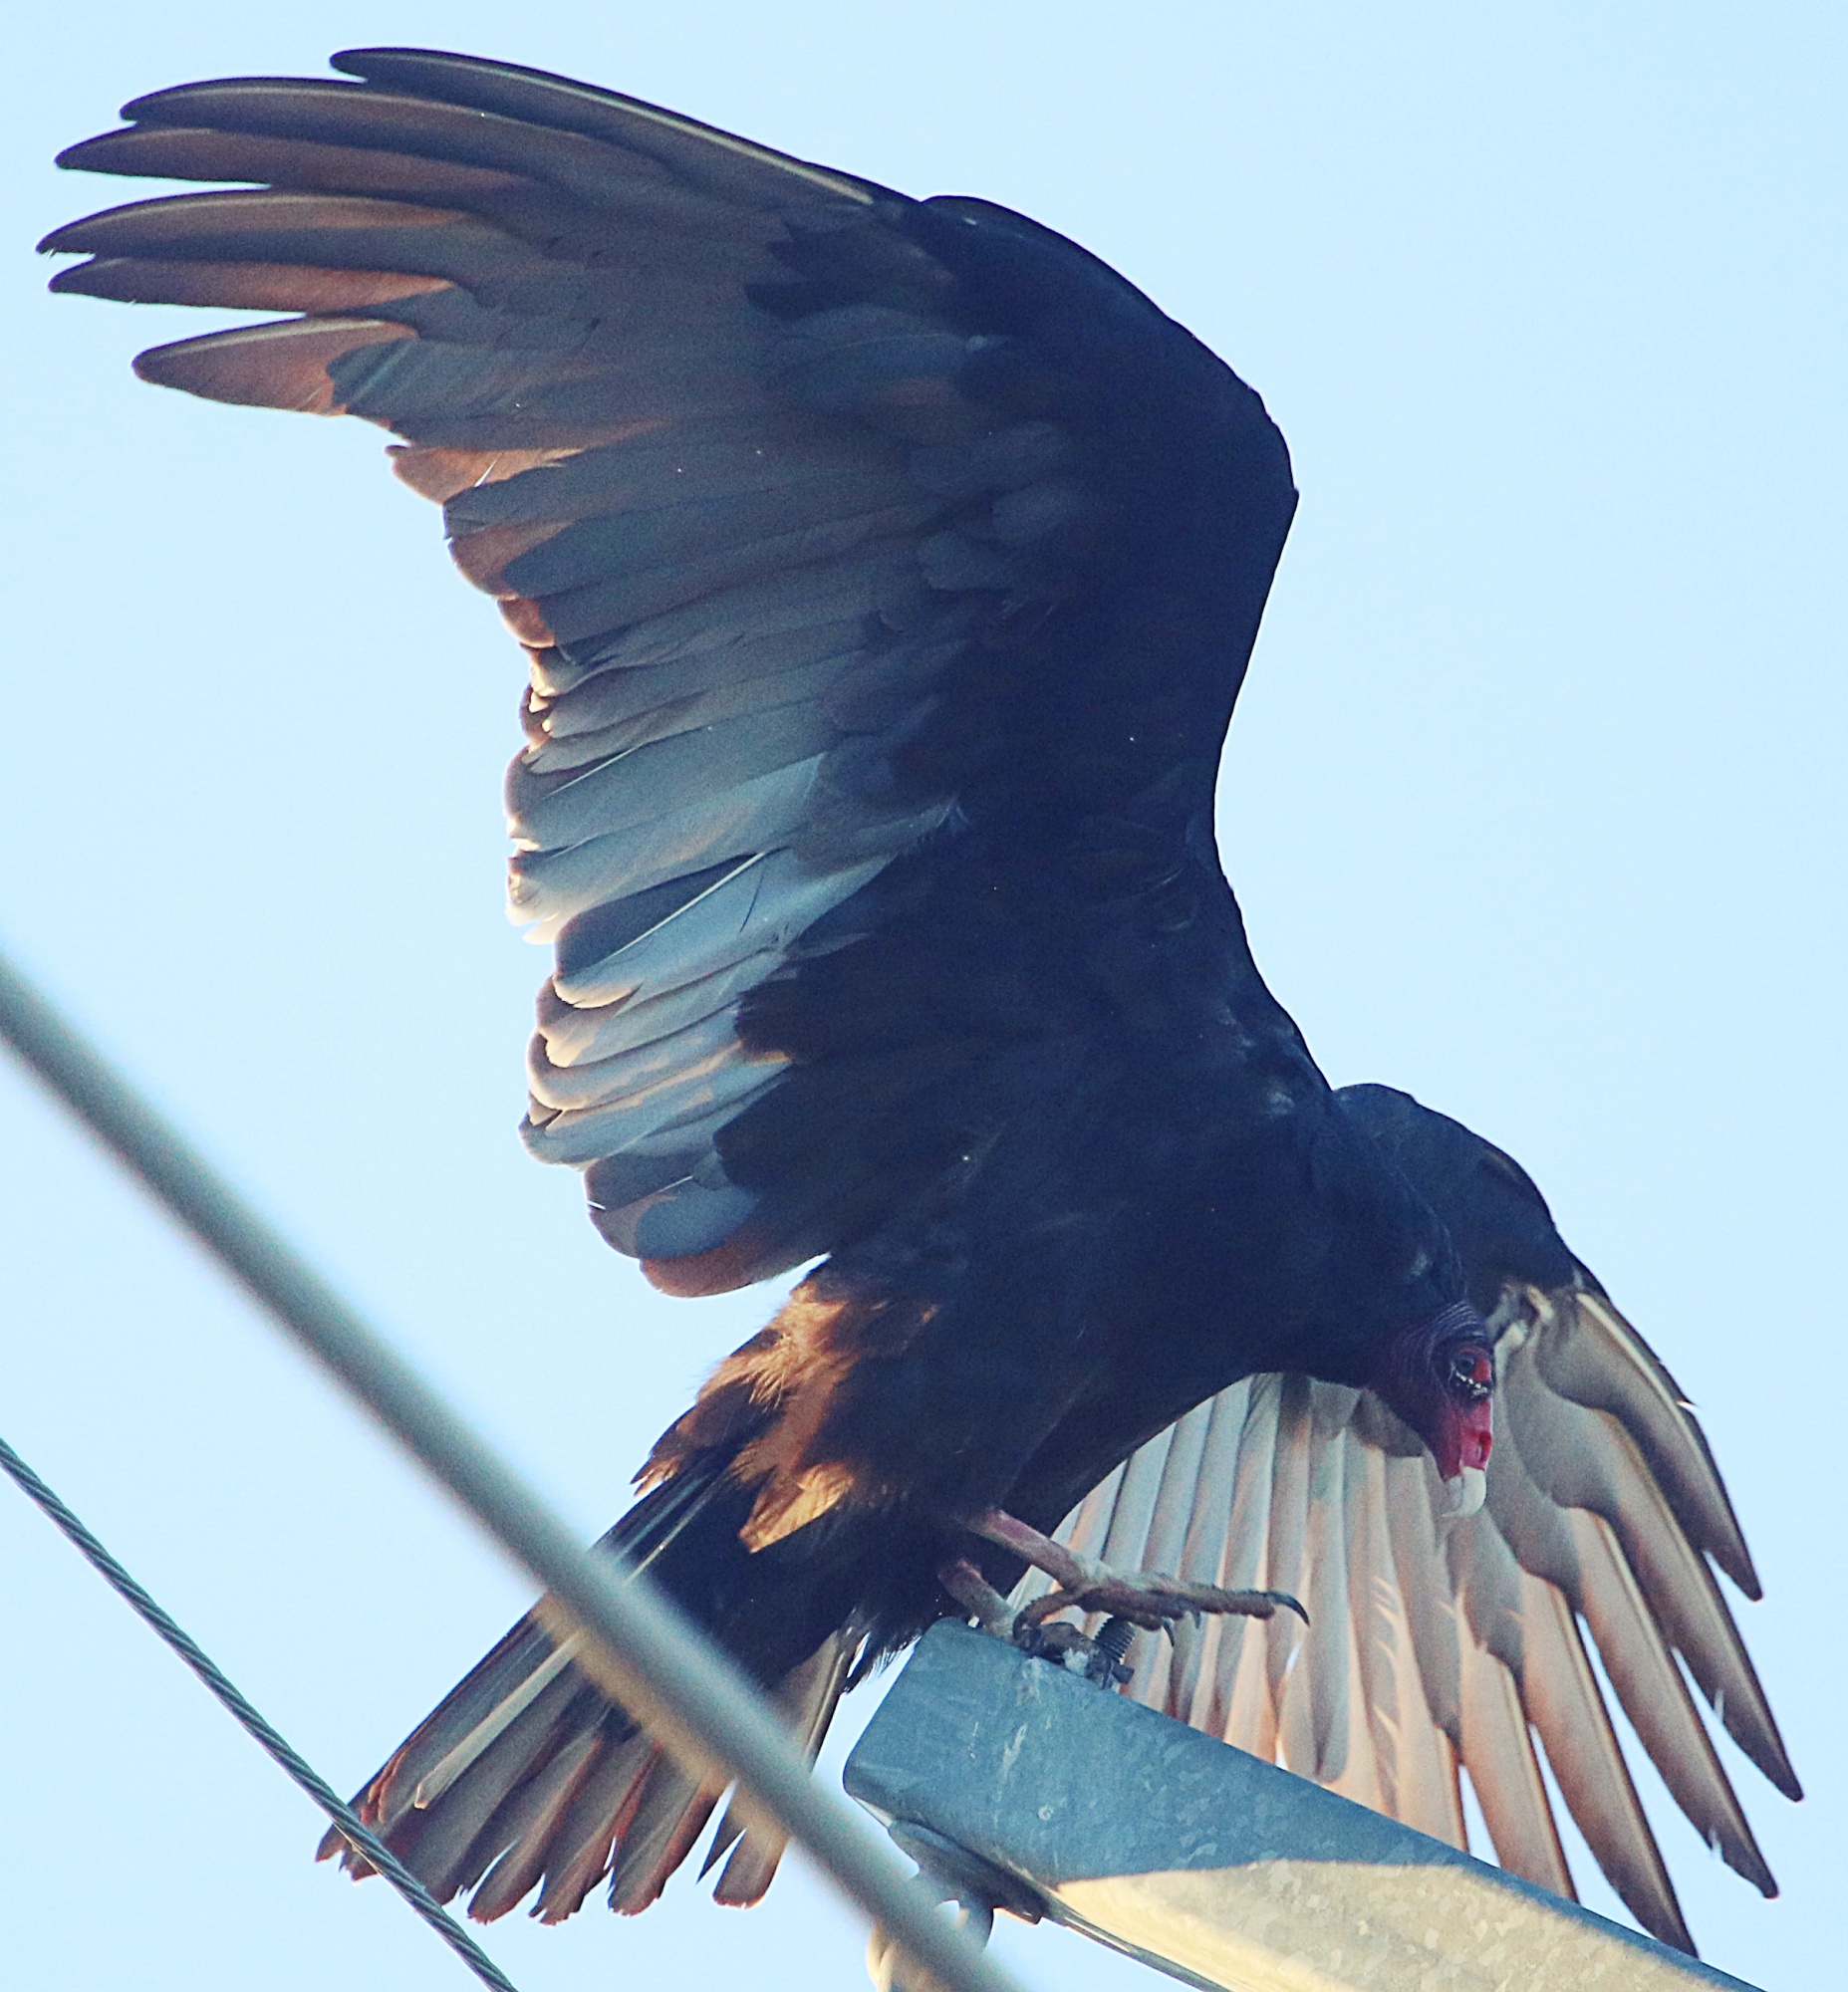
There's a huge double telephone post right in the middle of our barnyard - annoyingly - but it does draw birds!  It seems to be a favorite of turkey vultures.


They are massive!


With the weather getting colder, I hurried to plant my bulbs last week...fifty grape muscari and twenty large ruffled parrot tulips.  After I'd planted everything, I noticed about twenty "bulbettes" - tiny tulip bulbs about the size of a Chapstick lid - in the bottom of the bag.  Viable?


I decided to plant them in a leftover pot, which I placed under the front juniper bush.  


We'll see what happens in the spring!  

We've been getting some seriously hard frosts lately...


...and the fall color is nearly finished.  We had one last glimpse of it as we drove through Morgan-Monroe State Forest this week.


The annual flower garden is completely done.  Only a few persistent perennials remain in front.  Since that seed supply is gone, we're faithfully filling the feeders.


The cats are letting us know that they know about the cooling temperatures.  We've got cats in windows, seeking the sun...


Cats in laps...


...and cats on heat mats.


Claudia is soaking up every last bit of sun, too.


We've got at least another couple of weeks of blue skies and cool temperatures before the real bite of winter has the potential to arrive.


Perfect for cleaning up the garden beds and a few brisk walks. 

Have a great week!  


Monday, April 18, 2011

Birthdays and Bouquets

Spring bouquets make me happy.

The lilac bushes are blooming, and I am so glad I got these $7 IKEA vases. Perfect for lilacs. A really nice contrast!

Our viburnum bushes provided this beautiful bouquet.

I just love these delicate pink flowers, and they're so fragrant.

I planted clusters of purple grape hyacinths all over the yard years ago, and I love picking these tiny spikes of bell-shaped flowers to make miniature bouquets.

We have loads of red tulips, and they're nodding on bookcases all over the house.

Even their backs are pretty!

It's hard to be in a bad mood when you've got a house full of fragrant flowers!

With all of this spring spirit, I decided to make some Easter-themed crafts. I've been wanting to utilize my egg cups! This particular project from Martha Stewart is fairly easy - dyed eggs, with plant leaf outlines, nestled in egg cups for display.

First, you have to hollow out your eggs. A little internet research showed many various techniques. There are special tools that will slice off the tip of your egg, and unique syringes that will draw out the insides. Everywhere warned of the dangers of salmonella but honestly, I've been eating raw cake and cookie dough since childhood and I'm still kicking! I decided to do this the old-fashioned way.

I simply cleaned the outside of the egg with vinegar to remove any impurities. Using a basic sewing needle, I pierced a single hole in the pointy end of the egg. Chicken eggs have the thinnest shells of all eggs, and it's quite easy to push the needle through.

At the wide end, make another small hole and enlarge it by picking away at the edges with your needle.

The hole should be wide enough so that some egg white starts to bulge out.

You need a little more force, though. Just put your lips to the pin-hole at the top of the egg and blow. The egg insides will shoot out of the small hole in a steady stream and soon your egg will be hollow.

By the way, don't waste your eggs! Add some cheese, spinach, mushrooms, and onion, and make a frittata. ;)

I sprayed vinegar into the larger hole, swished it around, and blew it out. When no more egg white appears, you're done. Just let the egg dry for a day or two.

There are lots of things you can do with hollow eggs. For this project, I assembled some hollowed-out eggs, cheesecloth, snips of plant leaves, twine, and food coloring.

I used egg white to 'paint' the backs of my leaves and smooth them onto the egg shells. I wrapped each egg tightly in cheesecloth (pantyhose would work as well) to help hold the leaf in place.

I mixed up some dye using vinegar, hot water, and food coloring. Each egg was held in the dye for about 5 minutes.

Then, I peeled off the cheesecloth to reveal the design.

I made 4 eggs this way and was really pleased with the results!

However, they didn't really 'go' with our decor too well.

I ended up preferring an undyed egg from the reject pile. I think it's a little more my style!

Still, it was a fun project and I might do some experimenting to see if I can come up with some more natural colors.

Todd's birthday was this week. Per his request, I whipped up a 3 layer German chocolate cake. It was a little labor-intensive...especially caramelizing the icing...but it was worth it. It was absolutely the best German chocolate cake I'd ever had.

I made a ring of violets on the top to brighten it up a little bit.

I also made an apple pie that was quite delicious. Of course, I skipped the traditional lattice crust in favor of a Star Wars theme.

Yoda has never looked so delicious.

We topped off the day with a surprise party. The birthday boy was completely caught off guard.

Well, you only turn 40 once! :)

In other news, I've finally finished my cardigan. Last week I blocked it carefully...

...and ordered some cool buttons. I originally searched for simple light wood buttons, but was having a lot of trouble finding what I wanted. I decided to go with some vintage metal buttons instead and I'm glad I did. I really like them!

I'd spaced my buttonholes fairly close together and these small buttons were the perfect finishing touch.

I'd made many modifications to this sweater...changed the gauge, lengthened the body, lengthened the sleeves, and raised the neckline. The original neckline was meant to be low enough to sexily slip off one shoulder, but that's not exactly my style.

I'm really pleased with the final result. It was a fairly quick and easy knit.

I'm so glad I got to use my special "snowflake yarn" to make this cardigan. It will be perfect this fall, for chilly morning walks.

Have a great week!