...to the lovely fir and pine trees that pepper the Pacific Northwest.
 Our first outing was to the Oregon coast. It didn't matter if it was raining in Portland, because the coast has a way of making its own weather.
 The closer we got, the clearer and brighter the sky became.
 At last...sun!
 I love the Oregon and Washington coasts. They're quite different from the coastline in California. It's much colder and rockier...but that doesn't stop me or anyone else from hiking the ocean's edge.
 Haystack Rock juts 235 feet above the surf. It's frequently shrouded in mist, but we had a lovely view.
 The foaming waves may not look too dangerous, but the Oregon coast is known for 'sneaker waves', or huge waves that suddenly appear from benign surf. Many people have been washed out to sea because of them, and I, too, was once knocked off my feet by a thigh-high rush of water where once there was just gentle water sucking at my feet as I walked along the coastline. This girl is probably a little too far out for her own good!
 Of course, there are lots of seagulls...
 ...and some interesting oddities. I love unique sand structures. I wonder what creature made this pit...
 ...or sent up these bubbles?
 I love, too, how the water, receding from rocks, makes long trails on the sand.
 I found sand dollars and other interesting shells in abundance.
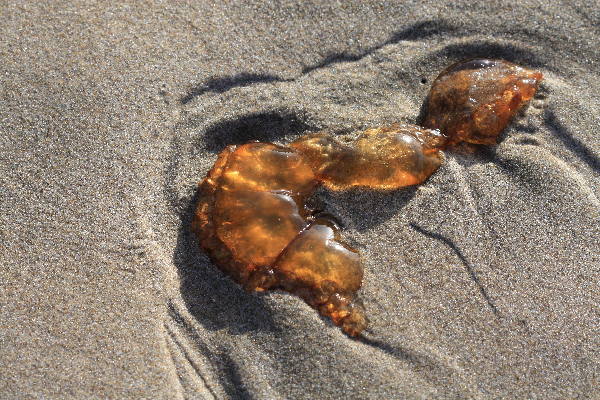
 Jellyfish of all shapes, colors, and sizes were washed up along the coastline.
 Logs, too, were stacked here and there, deposited at will by the roaring surf.
 I love the foam left behind on the rocks!
 As we headed down the coast, a storm rolled in.
 I *love* a stormy coastline. The colors are amazing, as the sky becomes the same color as the furthest wave.
 Before the storm hit, there was just enough time to see the fading light among the trees at my favorite place along the coast, Hug Point. The light is wonderful, the trees are dense, and the coastline here is frequently stormy.
 We sat alone on a small bench just beyond the sand and watched the storm roll in.
 We left before it hit, because the temperature dropped drastically and we were wet, too. Another day!
 One of the best parts about our beach day was finding our 2011 Christmas ornament. We started a tradition when we married of buying a special ornament each year, photographing it, and writing a little blurb about its discovery in a scrap book. We vetoed several ornaments this year, and then I found this smooth piece of wood on the beach. It already had a small hole bored in it...just perfect for a bit of yarn.
 More Oregon photos to come! But speaking of yarn...now I can finally post some of my Christmas knitting projects that were hidden away. Here is a baby hat I knitted for a pregnant friend.
 It matches this baby kimono, which buttons on the outside...
 ...but ties on the inside for a better fit. Those newborns are squirmy!
 I also knitted a thick wool baby blanket. The yarn bulged like an egg crate before blocking, but with the application of water, and a little stretching...
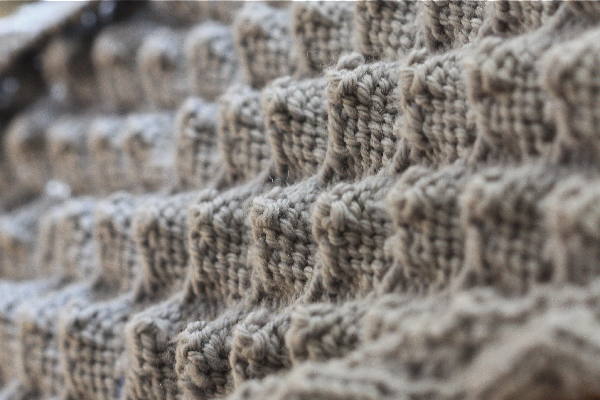 ...it straightened out into its normal state. Can you see the leaves?
 Oh, and here is the baby! :)
 I also made some Star Trek socks for Todd. It was my first time knitting a stranded design with two hands. It was slow, but my tension was better. I'm going to keep working on it.
 I also made a hat and matching fingerless gloves for my brother-in-law.
 For Christmas, I received a beautiful skein of fingering-weight yarn...that sparkles!
 After all my Christmas knitting, I treated myself to two skeins of this lighter pink Malabrigo...
 ...two darker skeins...
 ...and a decadent skein of Madeline Tosh called "Magnolia Leaf".
 I hope you treated yourself a bit, too!
Have a great week!




 Posts
Posts